



Building With Hope & Faith
The Transformation Without an Addition
Part 2
Part 2
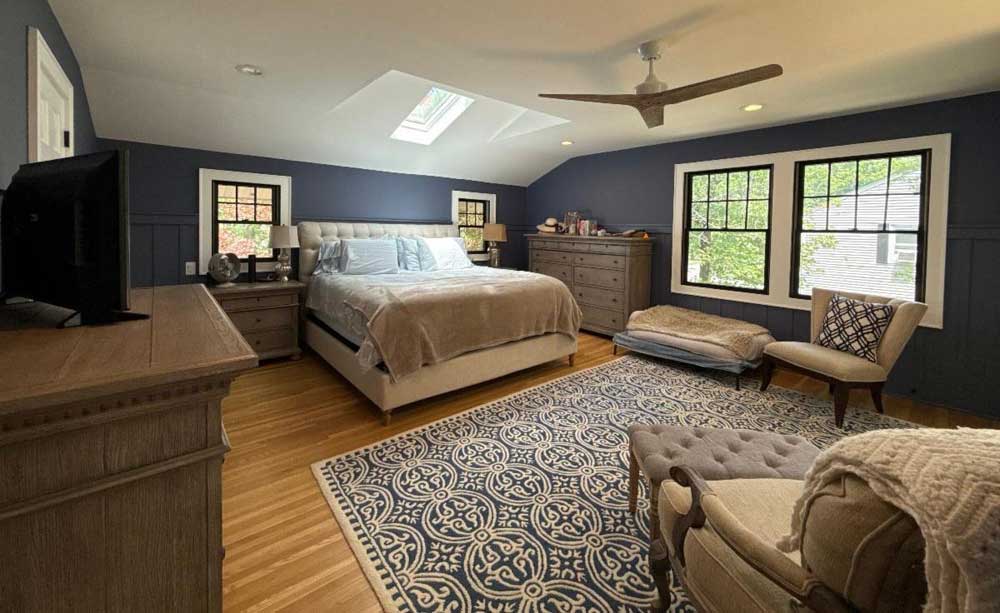
In this issue, we’re continuing our tour of a spectacular indoor transformation – a “reconfigured space”.
How it all began: the client had stated she WANTED to love her house, but “right now it is a big brown box”. Here’s where we covered the exterior transformation.
And then here’s the story from last month, where we revealed part one of the interior renovation – the lower and main levels.
This renovation is a great example of why you don’t always need an addition to make your home more functional – sometimes the space you already have needs to be reconfigured or reassigned. In this issue, let’s take a look at what we did with the upper level bedrooms and bathrooms.
Give and Take: Resizing The Rooms
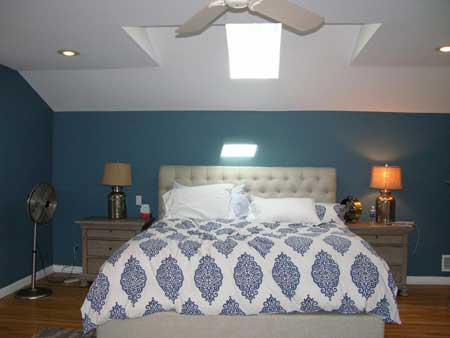
Master Bedroom Before
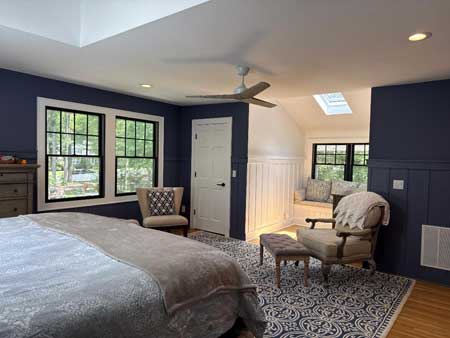
Master Bedroom After
The rooms ranged from too large to too small.
The existing bedrooms were already generously sized. We were surprised to find that one of the bedrooms, which was quite expansive, was not the master. In contrast, the main hallway bathroom that served all the other bedrooms was very narrow and poorly laid out.
Our design took some square footage from the oversized bedroom and used it to enlarge the hallway bathroom, while also giving it a smarter layout.
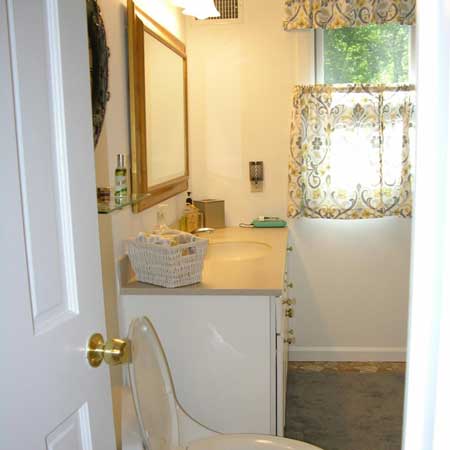
Main Hallway Bathroom Before
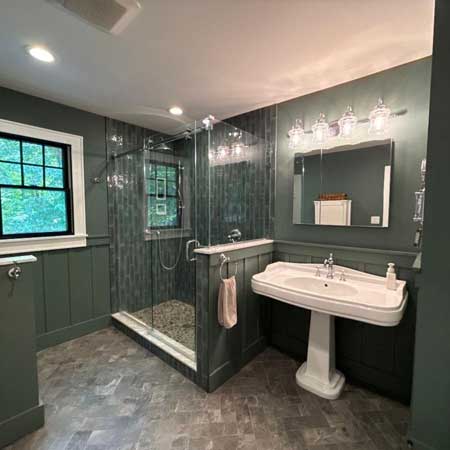
Main Hallway Bathroom After
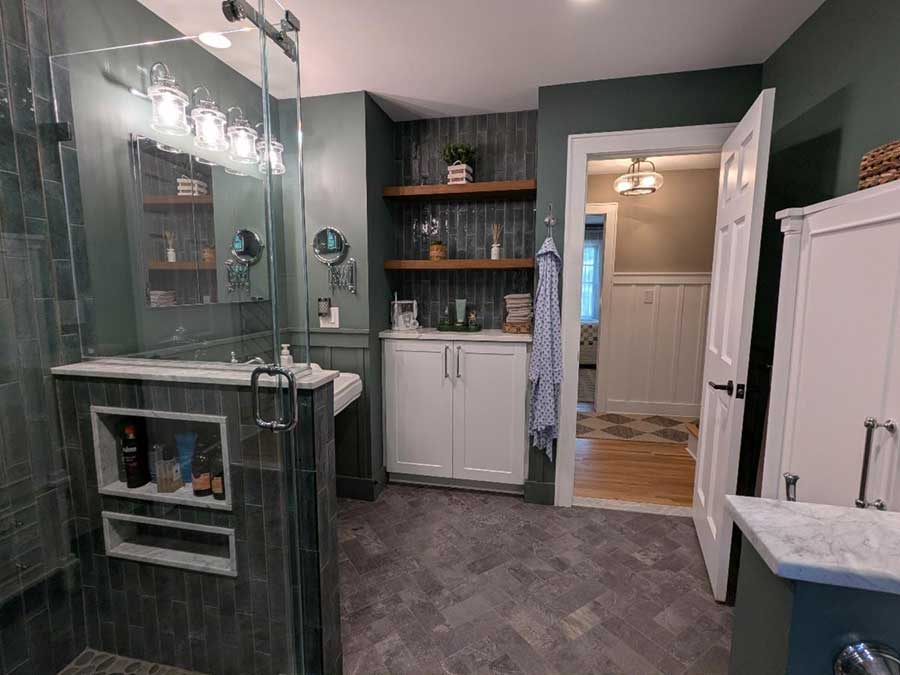
Main Hallway Bathroom After, Another View
The Laundry Room
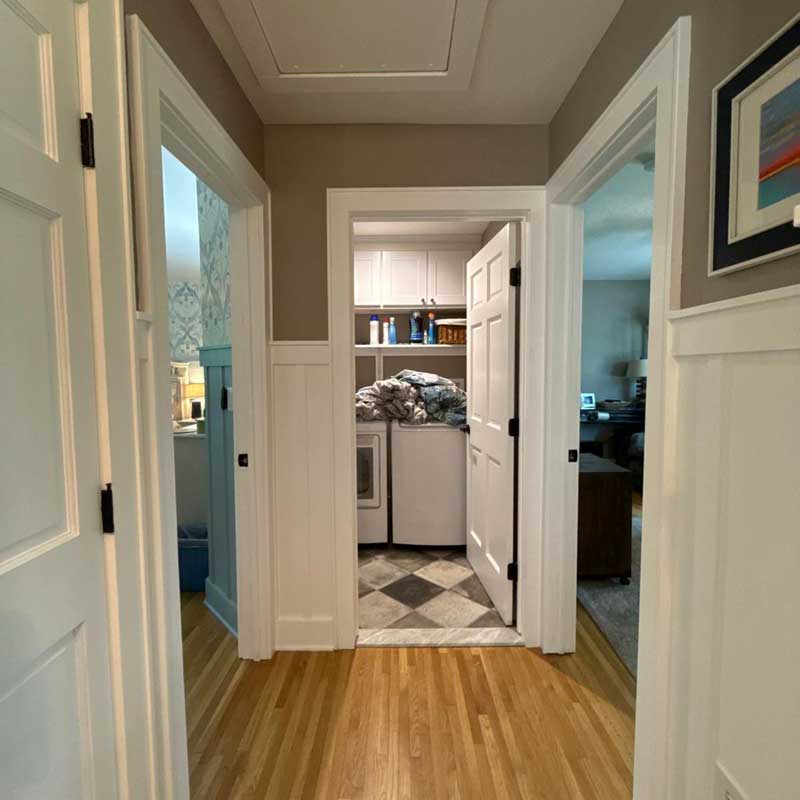
As we mentioned in the previous edition, we moved the laundry room upstairs. The new laundry room is now centrally located off the hallway, without the need to walk through a bedroom for access.
Rather than just a closet with a washer and dryer, we took some space from the “too large” bedrooms to create a fully functional laundry room with workspace and storage. Even though the previously oversized bedroom is now “rightsized”, it was upgraded to feature a full walk in closet rather than a line of closets.
Our transformation adjusted spaces so that all the bedrooms are now beautifully proportioned, and have more than adequate closet space.
The Master Bath
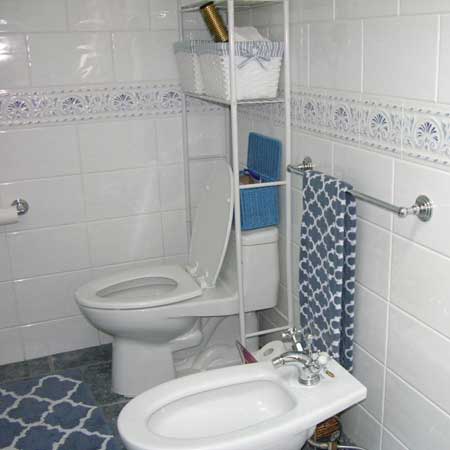
Master Bath Before
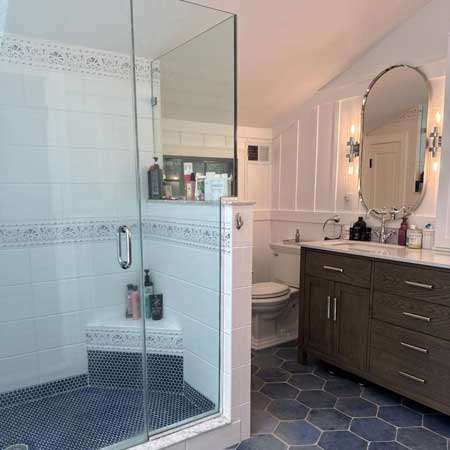
Master Bath After
The master bathroom got a partial makeover. While the size was just right, the layout was underperforming. We gained space by removing an outdated separate bidet that was never used. And now the former single sink is a new double vanity. We even reconfigured where the fixtures are located to make it more functional.
This bathroom features a big soaking tub and separate shower, which got an upgrade of a new tile floor and shower glass.
During the project, some of the master bath wall tiles had to be removed; the homeowner loved them but they were no longer available. So we preserved as much as possible. On the other walls we designed finishes to compliment that tile including adding wainscoting, which adds architectural detail and interest to the space.
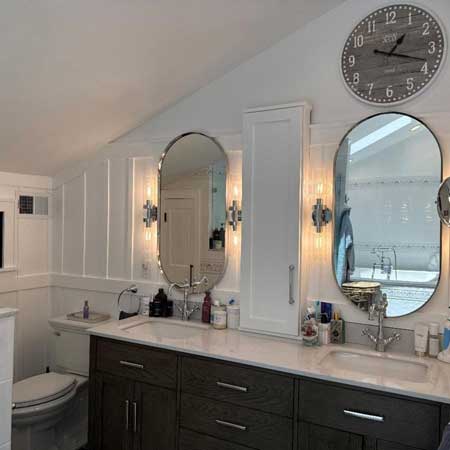
Master Bath
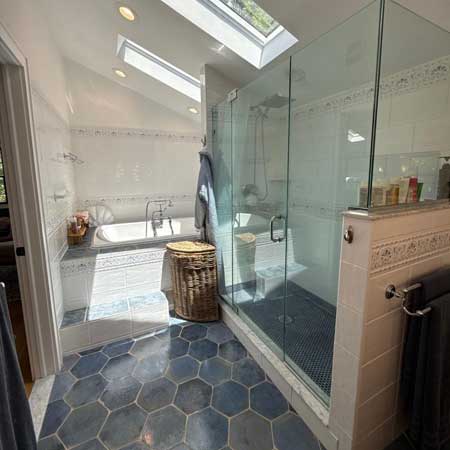
Master Bath
Working With Us: It’s In the Details
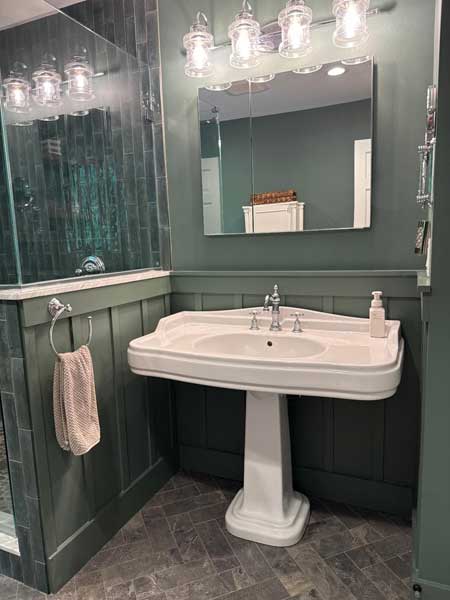
Detailing: Adding Wainscoting
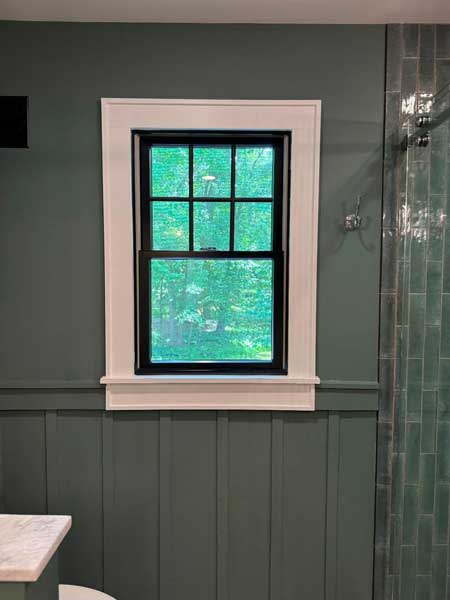
Detailing: The Window Trim
Throughout the entire house our design paid attention to detailing, adding wainscoting throughout, with regard to the height and colors within each space.
Some of the treatments were designed during the design phase and some were tweaked during construction.
Sometimes a large house can “feel small” when the rooms are not proportioned properly. This causes our clients to assume they need an addition.
But we’ve seen in many instances, that when the spaces are the right size for the feel and function of a room, everything seems bigger.
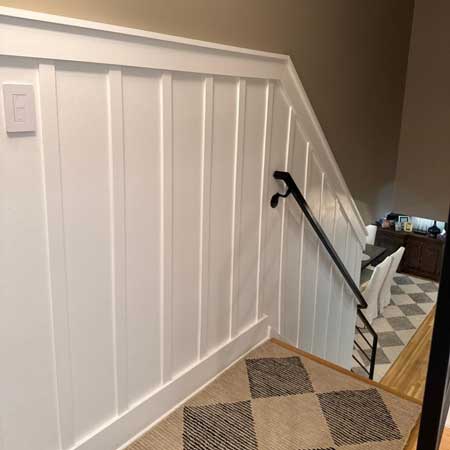
Wainscoting
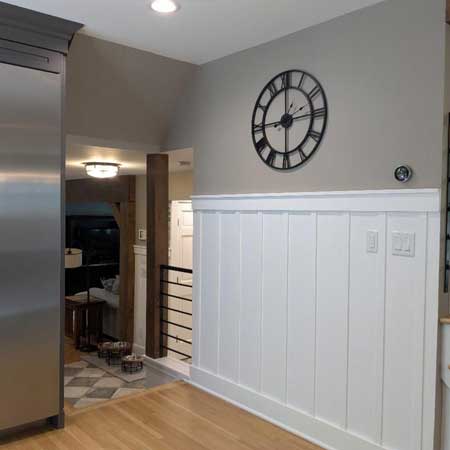
Wainscoting
Your surroundings can totally affect your life,
your spirit, your emotional well being!
your spirit, your emotional well being!
Do you have transformational dreams for your house and
simply can’t “see it happening?”
Click below to get started.
If a friend forwarded this to you, this does not mean that we have added you to our list.
However, if you would like to receive our updates, click below.